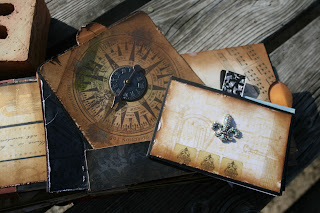
I put lots of little blingies on this because you know I love sparkly shiny things. But they also are meant to reflect the love I put in this book.
I made the closeure by attaching a key I bought from Michaels for a $1 to the front and taking apart a keychain (also from the dollar spot at Michaels and adding a little chain and there you go a very cool closure.
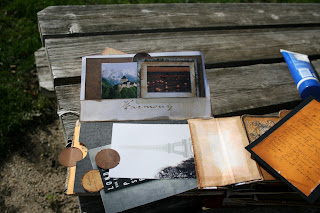
The inside is filled with lots of pockets and places to add pictures and journaling. I think I have around 40 pictures in this book.
I also wanted to make it very interactive so I added some embellies from Tim Holtz and journaling on the back of the tags.
This is the inside of the little pullout book above and as you can see I had room to add 2 more pictures.
I played around with different sizes of pictures in this project and I just had a blast.
I had to add a little lacing for my to this book to soften it up. These are actually fancy shoe laces that I found on clearance somewhere so it made it really easy to lace them on the spine of my book.
Now I have been playing around with flower making I wanted to do something that was inspired but original. This little beauty is made up made up of some flowers I took apart and added different fabrics in between, kind of a silk flower sandwich.
More pockets to put little messages in and also I wanted to show how I was able to add a 5 x 7 photo inside the open part of the paper bag.
I also wrote about the picture that I have added and as you can see there is plenty of room for lots of journaling.
I found these gorgoes metal butterflies somewhere but I never had the right project for them. because this book is chunky anyway I was able to make the cover very dimentional.
just one of the tags I added for a little color and interest.
Last but certainly not last I wanted to talk alittle about the tenique I used to make the front and back covers. I wanted a very vintage feel to this book but I couldnt find the right paper to cover it with so I found this one tutorial that showed how to make a faux leather paper using tissue paper, a little watered down glue and lots and lots and lots of inking. I could never tell you exactly how I made this because i'd ink and reink and scrunch it more until I got the right look. I will try to find the tutorial so that you can allo get some inspiration as I did.
Well thats it for now but I really appreciate you all stopping by and taking alook at my little book.
Jennifer


