Pages

Monday, April 2, 2012

A gift for my Mother

 Good Morning, everyone.  This weekend was extremely busy with lots of things going on but I did manage to finish a huge project I was making for my mothers 83rd birthday.  I wanted to give her something really special and I figured whats more special than a mini album full of memories.  The basic design of the project was from a very amazing artist Kathy Orta and can be found at her blog ttp://www.paperphenomenontutorials.blogspot.com/ . She always has alot of fun little pockets and places to put pictures and tags.


The closure I used for this was simply a magnetic clasp that I found in the jewelry department at my local Joann Fabrics attached to the cover with some suede paper straps and d rings.


This allowed for a space to add a chain to which I added trinkets for the bling factor that you know I love.

I embellished the cover with crystal scrolls and flowers.  I actually found these little butterflies that look perfect on the flowers.


They were purchased from Michael's at a deep discount, they were in the dollar bin and they were on clearance 5 for a dollar, you got about 4 or 5 butterflies per package and they are quickly becoming one of my favorite embellies.


As you can see in this close up they really add just a touch of whimsy.


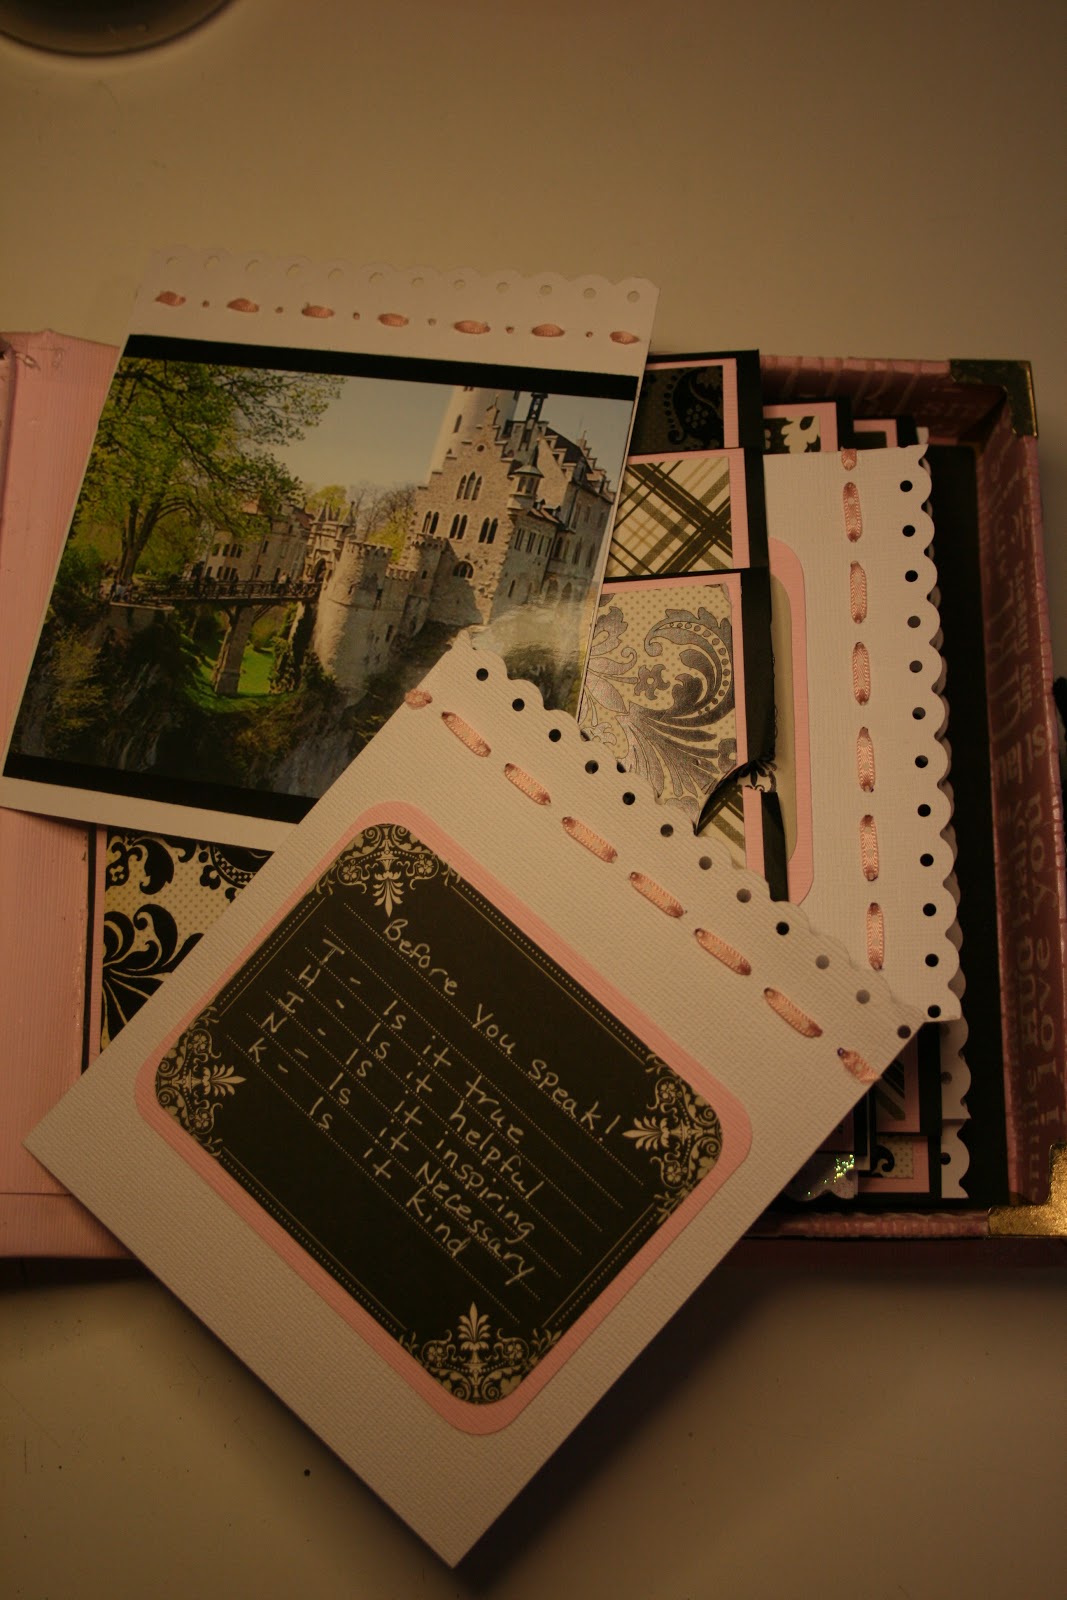
The book itself consists of about 10 pages, but as you can see from the photo there is room for about 5 pictures. 


This book really was as much fun to make as it was to look at and I  learned some really cool techniques working this tutorial and would absolutely encourage anyone to go try out one of Kathys projects it was well worth the 10 or 15 dollars I paid.  I can't wait to take some of the tips and incorporating them into my next project. 

Thanks for stopping by and looking at my latest.

Jennifer

Monday, March 12, 2012

A Tag for every occasion

Happy Monday one and all, todays post is about tags.  I use alot of them for all different reasons.  I add them to gifts, I make mini albums with them and I use them to label containers.  I was inspired by my sister Laurie this week because she makes such beautiful tags.
I started with  a plain manilla tag from Tim Holtz and of coursed dyed and distressed it with various distress inks and glimmer mist.  On top of that I added some old fashion tags with french sayings on it that I found on Pinterest. 


I topped off each tag with some scrolls I cut from a Tim Holtz die, added some homemade vine and flowers to embellish.

Thanks for stopping by

Jennifer

Tuesday, March 6, 2012

How I organize my studio

Hello everyone, today I wanted to talk about something that is near and dear to alot of scrappers and artists I know.  How to organize all the stuff we have so that we can buy more!  I have been hard at work doing some spring cleaning in my home and what better place to start but the room we all love our studio.  Now I can't take credit for all the ideas and I will try to give credit where credit is do.  So I hope you enjoy and can use some of my tricks. 

1) Stickles.  We all love them, we all use them and some of us struggle with how to store them.  What I did here what take an old frame that I bought at Goodwill (not just helping the community ladies, you are also getting stuff really cheap) .  I took the glass off (it will of course be recycled into something fabulous, stay tuned) I covered the insert with black velvet and added elastic going horizontially across the board.  I used brads to secure it, sorry no measurements, I just eyeballed it.  I then was able to store 20 bottles in this 8 X 10 frame and as an added bonus I can secure to the only free space in my room , the WALL!

2)My next problem product to store is lace and trimmings.  Well, I like alot of you ladies, I say I am going to recycle everything.  Since I  have been hoarding (choke, choke) cardboard boxes hoping and praying that I find a use for them before my husband calls that network and I have to go on TV because I don't want to throw anything out.  Ta Da, I have a use.  I cut pieces to fit inside some boxes (that I recycled from my sons lego collection) and I wrap all my beads, lace, and other do dads on to the cardboard pieces.  I was able to secure the pieces with rubber bands (yet another, "I know I can find a use for this somewhere" product.  The result is fabulous.  Not only are my pieces individually wrapped so that I don't have to spend hours unraveling but they are wrinkle free.


3) I used this same concept for other products such as Items 3 Tissue paper and Fabric that I use to make lovely things out of (such as flowers). I now can see all the fabric that I have collected and since I only allow so much room for these items I don't overbuy.


4) Now this idea was totally scaplifted from Leann at http://luvleescrappin.blogspot.com/.  She came up with a brilliant way to make foam stampers for her Tim Holtz distressed inks  (sorry Tim but I love this idea and since I cannot justify buying one of your stamp holders for every color I am passing it on)  She came up with a way to take a 2X2 (actually it measures 1.5 X 1.5) and cutting it down into 1.75 blocks and adding velcro and wa la you have a perfectly fitted block for each color of distress inks that you own all you have to buy are the replacement foam pads.  I love, love, love this and can't thank Leann enough.  She also came up with a cool idea to take doll pins clothes pins and by simply adding a makeup sponge to the rounded head with a rubber band a perfect sponge dauber to use when you are doing a smaller section.  I labled all mine with the color and name and have them sitting out so they are always in reach.


5)  Since I have been getting into using embroidery on my pages I was really struggling with how to have all my threads neatly stored.  I found this one on Scrapbook.com forum and Pinterest.  I bought some clothes pins at Micheal's.  They have some in the dollar bins and you get 4 for a dollar and they come in really pretty colors.  I simply wrapped the clothes pins with the individual colors of floss and here they are.  Now not only are they out and accessible but I can see what colors I have so no more overbuying (Thank God, because there is some new Tim Holtz Idea-ology pieces I need to make room for)                                                                                                                                                              


7) Last (for today) but certainly not least, a place for brads.  I used the same technique for my brads that I did my stickles.  I took an old frame added some ribbon and brads and placed all my brads and grommets into test tubes that I bought fom my local science and suplus store and make this attractive little piece that is always within reach.


I hope you all found something that you can use in your space and would love to see how you made it your own.  Please leave a comment I would love to hear you.  Thanks for stopping by.

Jennifer

Tuesday, February 21, 2012

My family


Good Morning.  I hope everyone had a wonderful long weekend. My work involves the stock market so I was off for Presidents day.  I have been plugging away in my little "paper studio" and have a lot of really cool things to post.  Todays project du jour is a little mini album I made for my niece (sadly everyone was sick so I was unable to give it to her on her recent visit)  But I am sure she will love it. I wanted to keep the cover very masceline but stay true to my style so I added in alot of feathers and metal pieces along with the flowers.


I didn't take a lot of pictures this time because I have actually made this style before so the inside is pretty much the same as my princess book. One difference is the closure.  I actually found an idea on the web (Thank you Kathy from paper phenomenon) where you insert one of the key hole pieces inside the ornate plates from Tim Holtz Idea-ology collection and as you can see it really turns it into a statement piece.  I used magnets (hidded inside the strap and the other imbedded in the book cover) to keep it secured.

I did want to showcase a new flower techniqe that I learned off of one of the blogs I follow, What a beautiful Mess.  You can find the instructions but clicking on the following link http://what-a-beautiful-mess.blogspot.com/2012/01/blue-daze-flower-tutorial.html She really is a very talented
artist and scrapbooker and has a lot of wonderful tutorials on her blog.

Thank you for  visiting my blog today and enjoy!

Jennifer

Sunday, February 12, 2012

you inspire me


Hello just a quick post of my latest photo book inspired by Laura from Follow the paper trail by laura blog.  She put a challenge out our youtube for Christmas and I was very inspired to make this lovely little envelope photo book for my Sister Laurie.  We are always trying to one up each other and I can't wait to see what she comes up with.
Of course I added lots of sparkly things to the cover but what excited me the most is the closure.  I am always trying to come up with new ways to close my books and on this one I used magnets.  One magnet is on the inside of the book and the other is hidden in the band under the pink sunflower.  I am trying to get a tutorial out on video to show you how I do it but since I am often inspired by other ladies on youtube I want to make sure I give everyone credit.  So keep watching I plan on getting all the instructions out here soon. 


I hope you all enjoy my little creation and thank you so much for stopping.

Jenn

Wednesday, January 25, 2012

20) Things to know about me.


1) I once wanted to be a lawyer.
2) I think I'm funny (my daughter does not- jk Rae)
3) I have been seriously trying to learn german for 2 years and have mastered how to say hi, my name is.
4) My son is a 'scrapbook orphan' on Friday nights because that is when my cropping buddies (aka my sister Laurie and friend Jamie) come over
5) secretly dream of getting on a design team
6) Go out blog hopping when I'm feeling down because, ladies you may think you got this bug bad, but I have seen people that have upgraded their scrapbook room to a scrapbook house. (I'm so jealous)
7) Love to photograph anything. 
8) Have worked in the securities industry for 19 yrs and still cannot figure out my 401K
9) I make homemade beer with my husband and have a 'beer room' in my basement
10) Grew up in the great state of Wyoming.
11) Once jumped out of a 2cd story window - because my friends were doing it.
12) One of my hobbies is "beer tasting" and have tried hundreds of different ales and beers.
13) I am planning to go to Oktoberfest in Munich
14) Have a german shephard named Butterscotch and 2 black cats named Niko and George.
15) One of my happiest moments is babysitting my 'grandpuppy' a 5 lb yorkie name Kobe.
16)  Have a Pinterest board entitled "dream scrapbook rooms"
17) Am already thinking of a the project when I take the picture.
18) I am a serial containerizer (I guess so that I can justify the need for $500 worth of Tim Holtz products that I cannot live without)
19) Love cowbells.
20) Will make a scrapbook page for every event and infact have a picture of my son (when he was 2) sitting on his potty chair (probably saying not now mom, this is a private moment)


Now I've told you about me, I would love to find out something about you, leave a comment with a fact about yourself  so that I can get to know you better.

Monday, January 16, 2012

A new year a new start.


Well here it is. my first post of the new year.  I wanted a book where I showcase alot of pictures.  This particular one hold 21 and room for journaling.  I have gotten away from traditional scrapbook pages in the recent past and branched out into books.  I like these so much because as you can see I can bling it up and it has alot of interacting parts.  So thanks for being patient and waiting sooooooooooooo long for a new project.  I hope you like it.


I add som Tim Holtz corners to just pop the edges a little.  The cover has a lot of layered elements on it as you can see. 

I started with a distressed box top. I then layered on a princess saying from the Cricut cartridge "word collage. I surrounded that by so flat backed pearls and that really formed the base for me to layer all my lovely little trinkets. 

To close the book I used a Tim Holtz element and an elastic hair band on top I added a charm chain for a little exta dazzle.

Since I added most of my bling on the cover I really saved the inside of the box for pictures.  As I said I can added 21 full size pictures on the inside.  On each of the inside covers I added 2 5 picture fold out books.  I was able to add 5 4 by 6 picures on these pieces.
I then made 3 pieces for the inside of the book two hidden hinge pieces that I was able to fit three photo pockets.  Bcause of the size of the book and the orientation of the photos I needed to cut each photo down to 4 by 5 I used the back for journaling.
For the center piece I made a 2 sided photo flip album which I had room for 6 photos (altogether) 4 by 5.75 inch photos.  I didn't want theses to look too busy so I only added journaling on the last flap of each side.


I made this one to be all about pricess and fantasy so that I could maybe add room for a gift card and use it to give someone a cute little story book for a present.  Thanks for visiting my blog and as always I would love to hear what you think of my project.

Jennifer